
Capture the Northern Lights: A Quick Guide to Aurora Photography
The aurora borealis is one of nature's most captivating displays, but photographing the phenomenon presents unique challenges. Whether you're planning your first aurora hunt or looking to improve your night sky photography, here's a little guide to help you capture those magical moments.
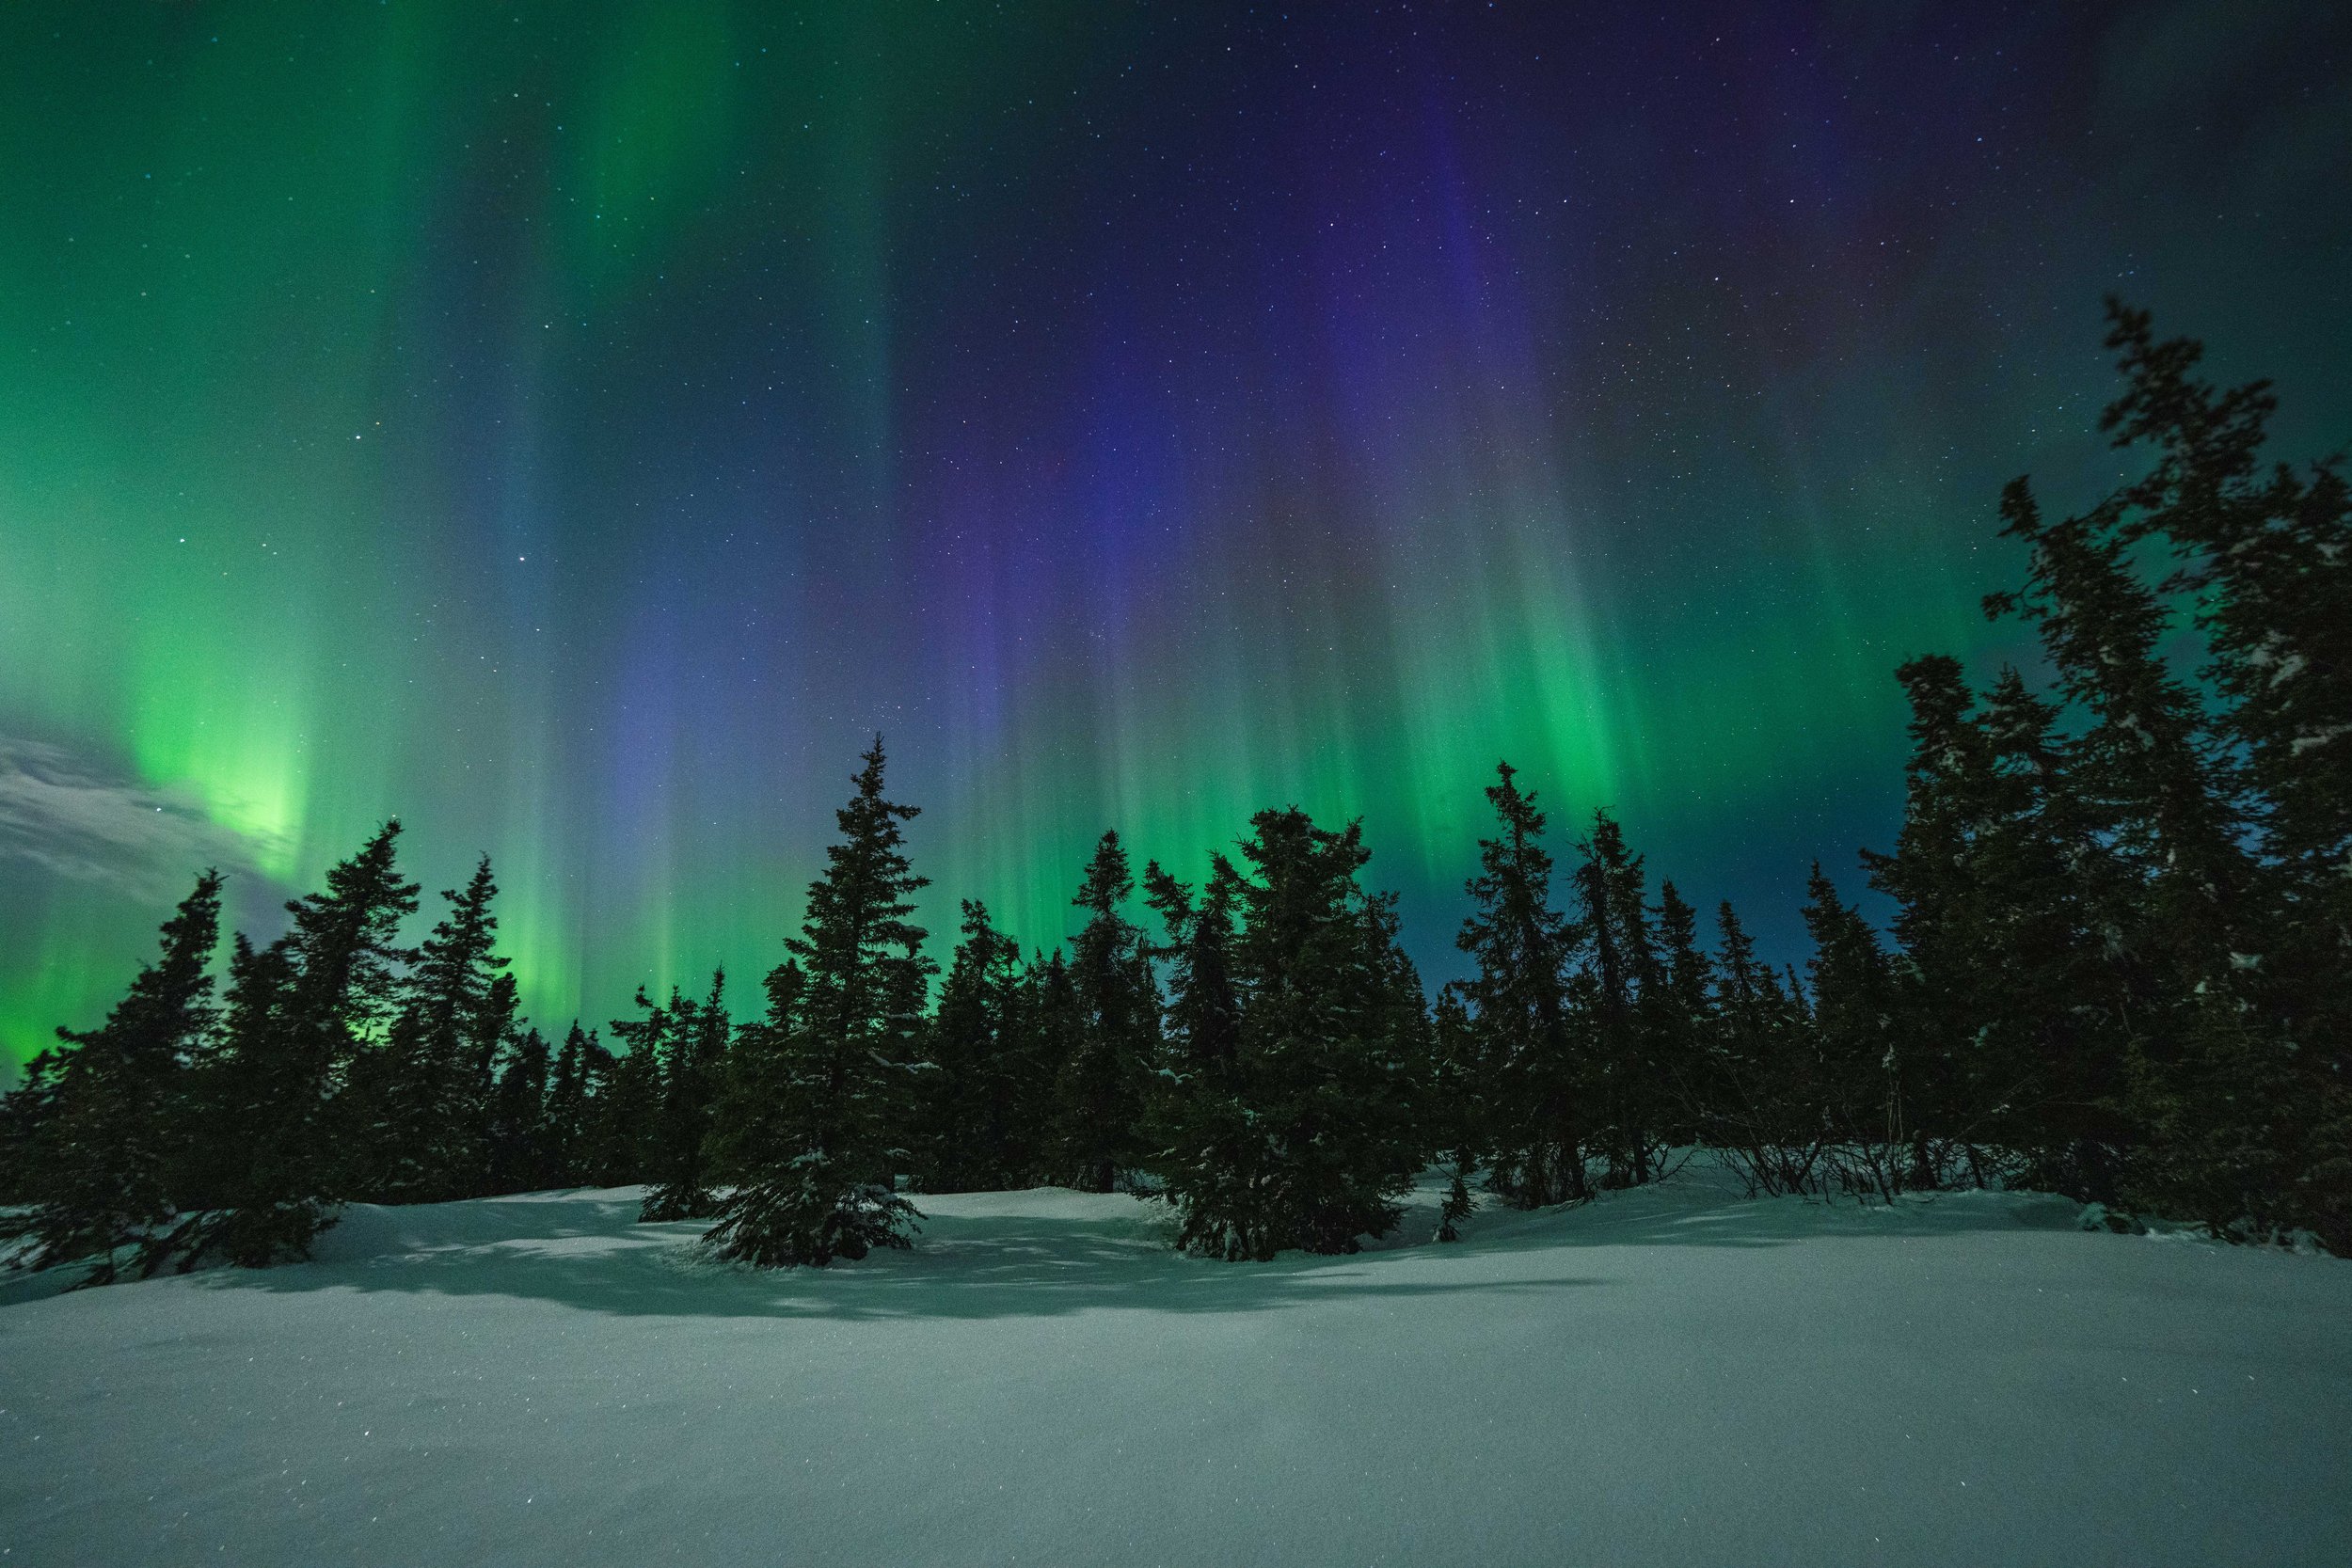
Essential Equipment
-
A DSLR or mirrorless camera with manual settings is ideal
Full-frame sensors perform better in low light, but crop-sensor (APS-C) cameras can still capture great aurora photos
Ensure your camera can handle high ISO settings (at least 1600-3200) with acceptable noise levels
-
Wide-angle lenses (12-24mm) are preferred to capture more of the sky
Longer lenses (35-55mm) allow for more detailed captures of aurora
Fast lenses with wide apertures (f/2.8 or wider) will allow the camera to capture more light
Manual focus capability is essential for night photography
-
A sturdy tripod is necessary—exposure times will be too long for handheld shots
Remote shutter release to limit direct handling of the camera in cold conditions
Intervalometer for shooting time-lapse sequences
Extra batteries (cold temperatures drain batteries quickly)
Memory cards with sufficient capacity
Headlamp with red light to preserve night vision
Camera Settings
-
Three camera and lens controls affect the exposure of an image by controlling the amount of light that reaches the camera sensor (aperture, shutter speed) and the sensitivity of the sensor (ISO)
Lens aperture: As wide as possible (f/2.8 or wider)
Shutter speed: Between 0.5-15 seconds (shorter for active auroras, longer for faint displays)
ISO: Start at 1600-3200 and adjust based on aurora intensity. Don’t hesitate to crank the ISO upwards of 6400-12800 if your camera is capable. The resulting noise can usually be acceptably handled in post-processing with tools such as Lightroom’s “denoise” feature.
Under most conditions, I prefer to use Manual mode when shooting aurora because I find it most effective in exposing the scene to my liking
Aperture Priority mode can be beneficial by simplifying shooting, especially during extremely cold nights when wearing thick gloves makes handling the camera difficult
-
Manual focus is essential—autofocus struggles in dark conditions
Focus on a bright star or planet to ensure that your lens is focused to “infinity”
Use live view with maximum magnification to fine-tune focus
Take a few test shots and zoom in them to ensure that stars are sharply focused
Once infinity focus is achieved, consider taping down the focus ring to prevent accidental adjustments
-
Shoot in RAW format for maximum post-processing flexibility
Set white balance manually to around 3200-4000K
Turn off image stabilization when using a tripod
Enable long exposure noise reduction if available

Wintry foliage foreground aurora in its recovery phase
Planning Your Shoot
-
Research aurora-viewing locations away from light pollution
Scout during daylight to find interesting foreground elements
Consider accessibility and safety during night hours (especially crucial in winter and spring when snow limits access)
Look for clear views of the northern horizon (in the northern hemisphere)
-
Monitor aurora forecasts through tools such as NOAA’s Aurora Dashboard and apps like Aurora Now
Monitor NOAA’s GOES magnetometer readings (more info here)
Check KP index values (3+ typically required for viewing at subarctic latitudes); keep in mind that aurora doesn’t necessarily manifest in correlation with KP predictions
Weather is crucial—clear skies are essential
Although a new moon’s dark sky starkly contrasts the brightness of the aurora, any phase of the moon is a great time for viewing. In fact, the light of a full moon actually allows the human eye to more easily see different colors of the aurora!

Snowshoe hare tracks leading to aurora
Composition Techniques
-
Include landscape elements to provide scale and context (i.e. snowy trees, animal tracks, roads, trails, etc.).
Mountains, trees, lakes, or buildings create more compelling images than sky-only shots
Consider reflections in water for dramatic effect (only possible during autumn months in Interior Alaska)
-
Use the rule of thirds to position the horizon and main aurora features
Try upward aimed ground-level compositions for dramatic perspectives
Consider panoramic compositions for expansive displays
Find leading lines such as roads, trails, or snow drifts
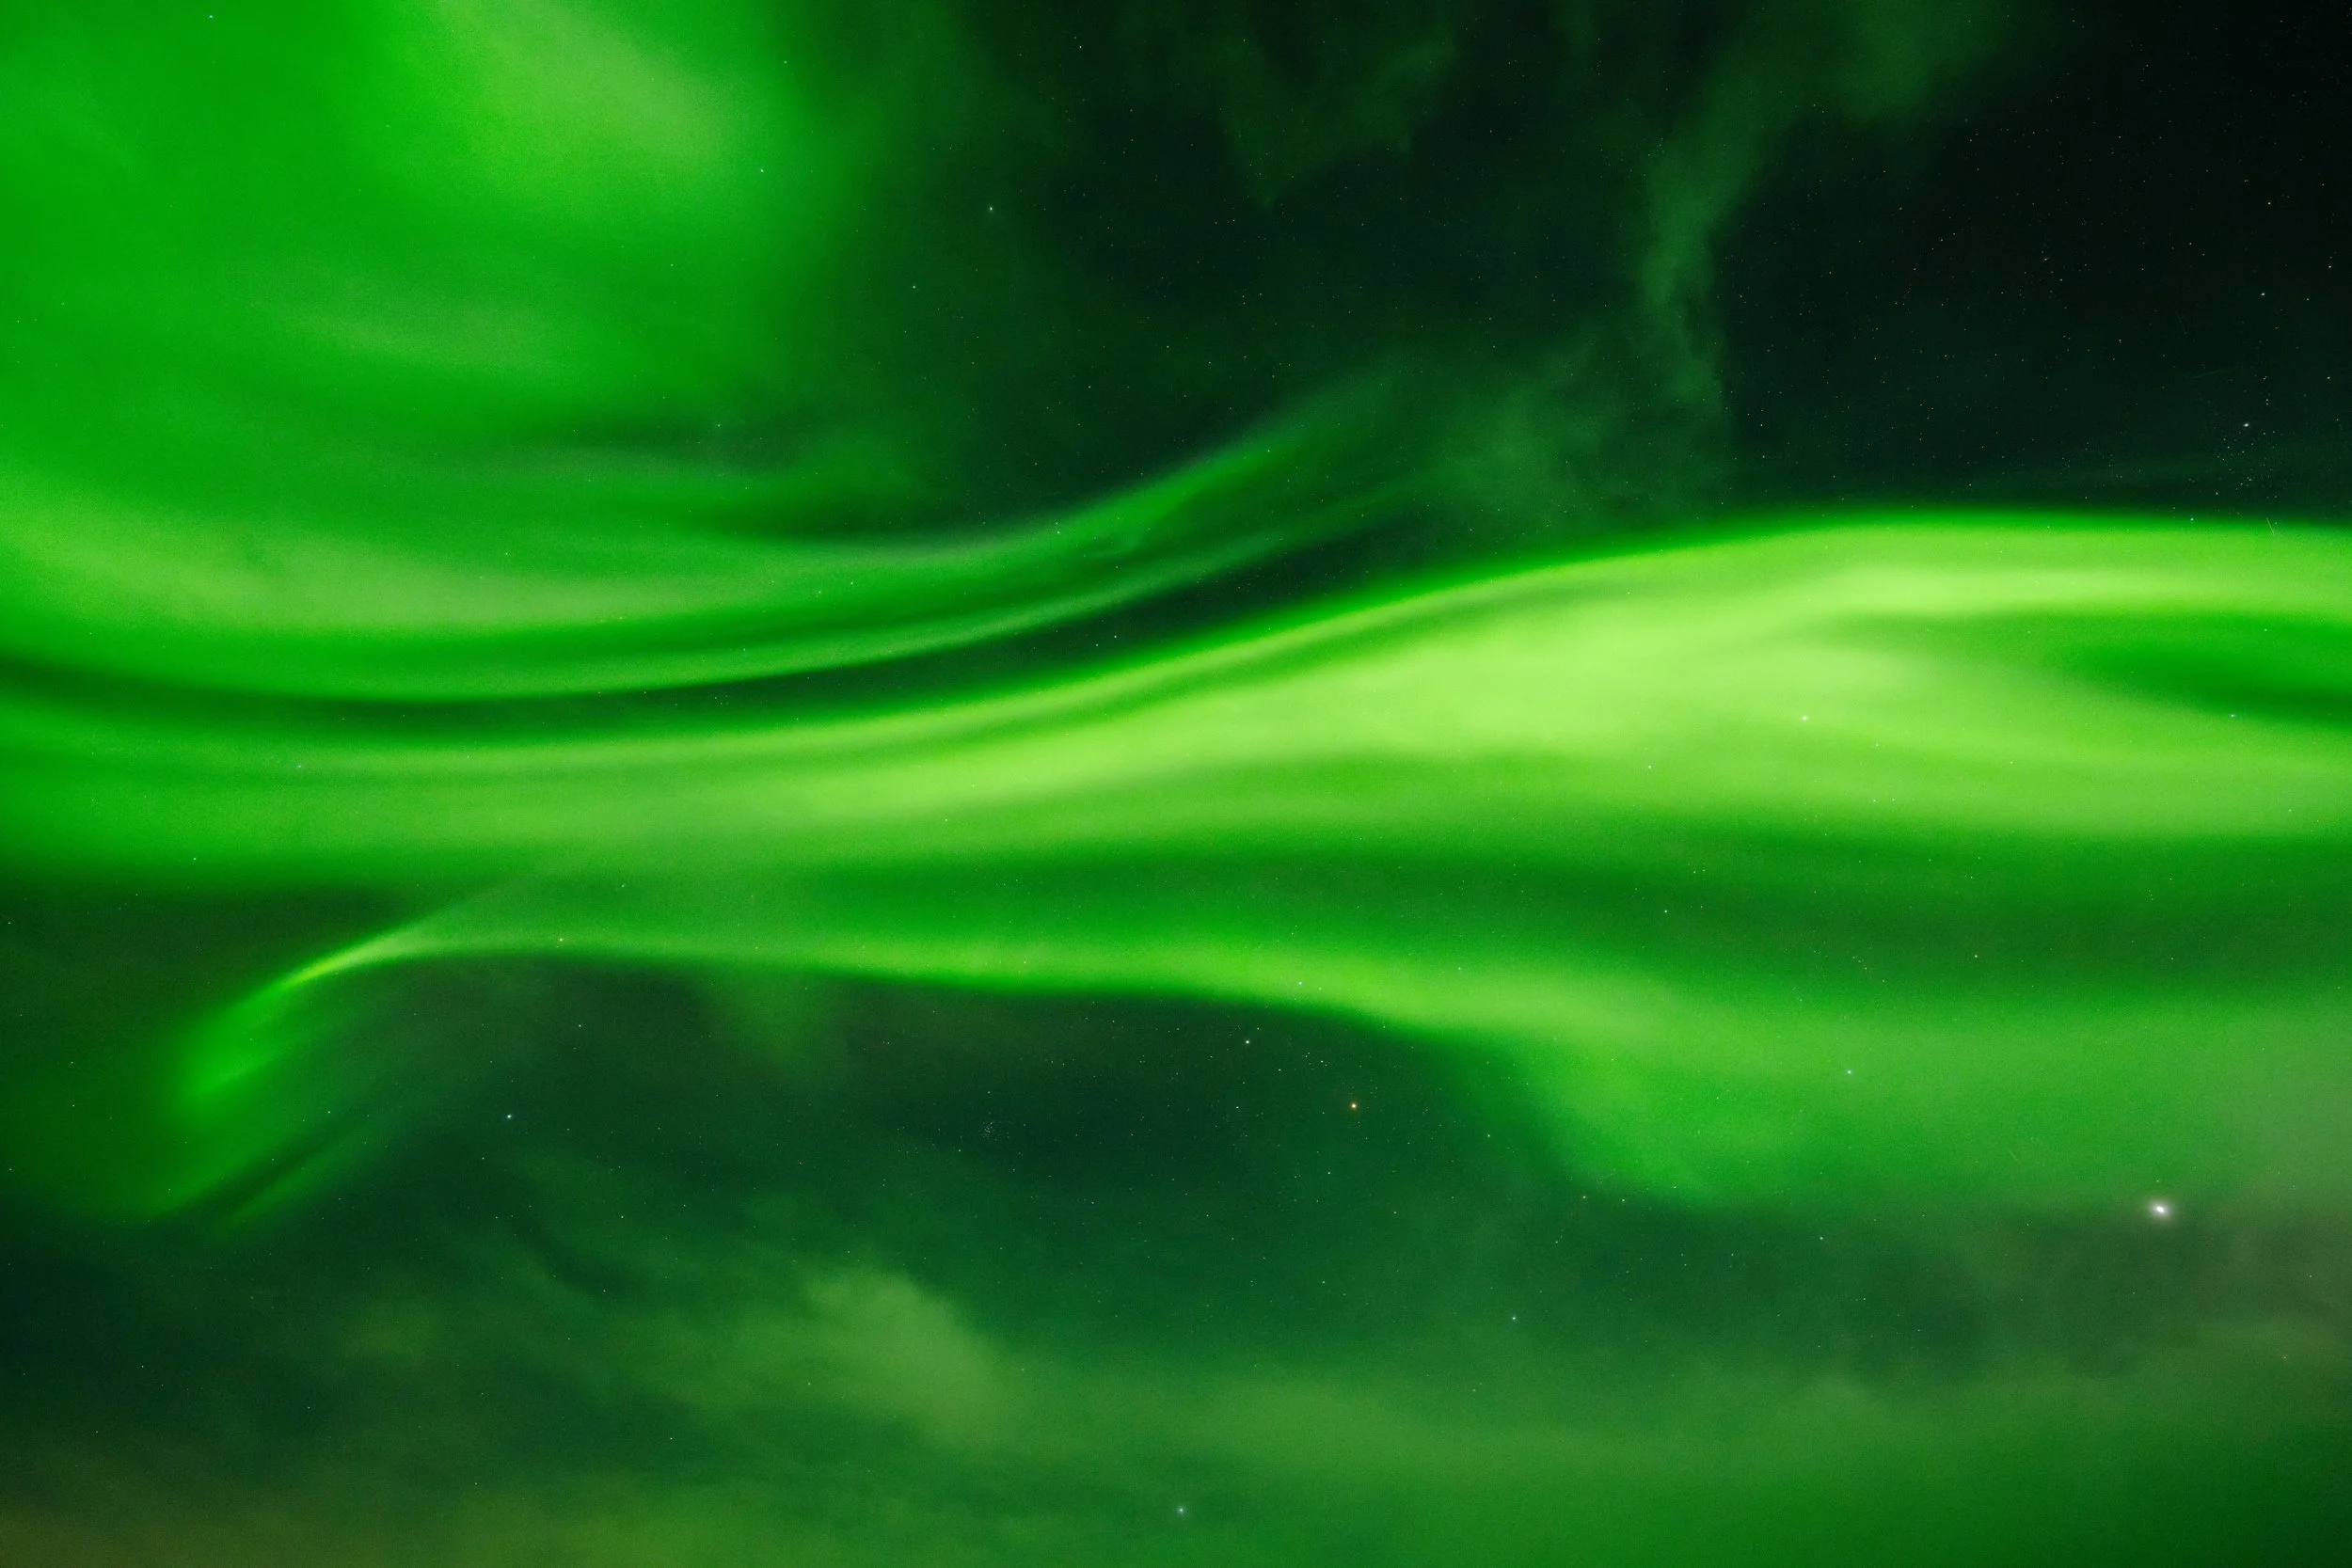
An intense auroral substorm directly overhead
Field Practices
-
Set up your equipment as soon as possible to ensure readiness for an auroral substorm
Take test shots to confirm focus and exposure settings
Confirm your nautical directions to ensure a northward view
Explore potential photo compositions in the area
-
Start with conservative settings and adjust as needed
Check histograms frequently to ensure highlights are not clipped
Experiment with different compositions as the aurora changes
Consider interval shooting for timelapse creation and to capture the entire sequence of a substorm
-
Keep spare batteries in a pocket close to your body to stay warm
Rubber band hand warmers around the lens barrel to prevent condensation
Instead of hand warmers, a specialized lens warmer can be used to avoid lens condensation
Bring a microfiber cloth to wipe condensation if needed
Avoid breathing on your viewfinder or LCD
Wear thin glove liners inside mittens for dexterity when adjusting settings
Post-Processing Tips
Adjust white balance to enhance the aurora's natural color (if necessary)
Experiment with de-noise tools for optimum noise reduction
Consider subtle contrast and vibrance adjustments to make colors pop
Use selective masks to balance bright auroras with darker foregrounds (i.e. decrease highlights/exposure of aurora, lift shadows/exposure of a dark foreground)
Don't over-process! Maintain the natural essence of the scene
Final Thoughts
Photographing the aurora is as much about the experience of witnessing the phenomenon as it is about the resulting images. Be prepared to adapt to changing conditions, experiment with different techniques, and most importantly, take time to simply enjoy the spectacle with your own eyes.
Patience is key—oftentimes the best displays happen after hours of waiting. The aurora’s unpredictability is part of what makes capturing it so rewarding when everything aligns perfectly. Remember, the chance to witness an auroral substorm is always worth the wait, even if it takes all night!
Best of luck out there. Drop me a line with any questions and I’ll be more than happy to answer them to the best of my ability!

Standing under the aurora on a frozen highway in Interior Alaska